One of the most impactful email signature trends of 2024 are the interactive elements and animated banners. A powerful animated call-to-action can significantly better grab the attention of your recipients allowing you to present your brand identity in the most visible way. Well-designed email signatures provoke excitement and reflect professionalism.
Contents
Powerful email signatures serve as one of the best marketing channels that can boost your brand awareness. However, to ensure the success of this marketing channel you must implement the best practices, one of which are animated interactive elements. Animated GIFs can make your email signature marketing campaigns more effective. They can transform emails into marketing engines with animated email signature banners. When used properly, animated GIFs can increase click-through rates and positively affect your ROI.
Why we love animations
Today almost every interface has some sort of animations. We love seeing them on our phones when we close or open apps. We send GIFs to our friends to express various emotions. We tend to trust the websites with fancy animated pages more. Animations are present almost everywhere.
The main reason why we love animations is about our overall perception. So why our brains love when we seeing animations? Our brains are naturally drawn to animations for several reasons:
Visual Communication: Our brains process visual information more effectively than text-based communication. Animation consists of rapidly changing images, which can create an illusion of movement. As our brains have a brief delay in image processing, it creates an illusion of a moving image.
Relatability: Our brains naturally search for similarities and belonging before devoting attention to content. Animation allows you to create characters with abstract features that anyone can relate to
Retention: Research shows that moving images encourage new neurons to grow and help link to areas in the brain responsible for memory formation, spatial orientation, and strategic planning.
When it comes to email signatures, animations are present in the form of call-to-action banners in the GIF format.
What is a GIF?
A GIF, pronounced as “jiff”, is a type of digital image format, just like JPEG or PNG. But what is so special about GIFs? The thing is that they can be used to create animated images.
Think of it like a flipbook. A GIF file can hold multiple pictures at once, and these pictures can load one after another to create an illusion of movement. It’s like having a mini movie, but without sound.

GIFs were introduced by CompuServe in 1987 and have become a big part of internet culture. They’re often used to express emotions, tell jokes, or make web pages more dynamic and fun.
While GIFs are awesome, they do have some limitations. For example, they can only support up to 256 colors, so they might not be the best choice for high-quality photos. But for simple animations, they’re just perfect. However, these limitations make them perfect for email signatures.
How to create an animated banners for your email signature
There is huge number of ways to create an animated banner for your email signatures. In this blog post we’ll walk you through the most accessible ways of creating email signature banners.
How to create an animated banner in Canva
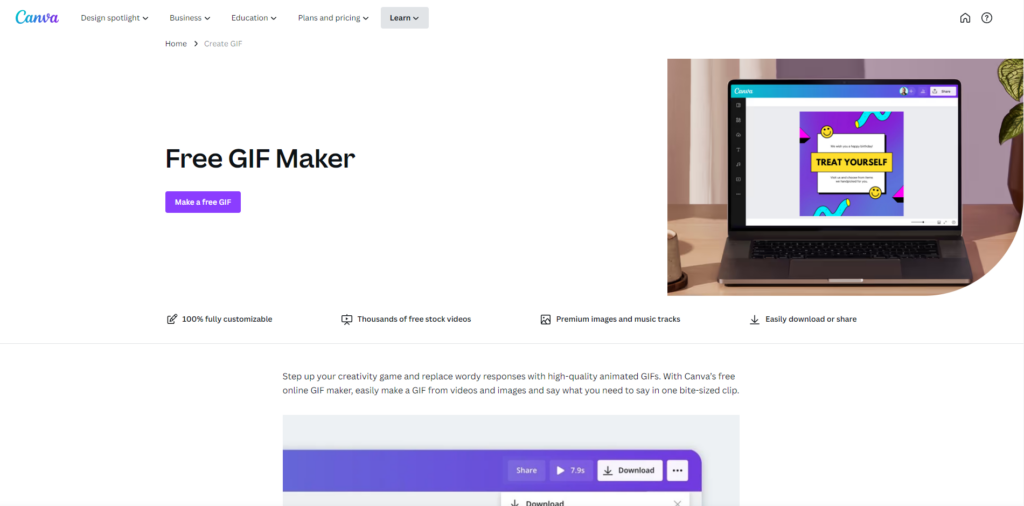
Canva is a great tool for video/image editing tool that allows you to create various GIFs using built-in template library and more, including animated siganture banners. The only problem that you might face with Canva is the lack of option to properly crop your animated banners. The feature is only available to the premium users. But you can always use other online tools, like EzGIF, iloveimg, onlinegiftools, etc. to crop your GIFs to use them in your email signatures. Now let’s talk about the steps that you need to make to create a animated banner in Canva.
1. Open Canva: Navigate to Canva’s online GIF maker page
2. Start Designing: Click on the “Make a free GIF” button.
3. Upload Images: Switch to the “Uploads” tab on the left and click on the “Upload media” button to add images.
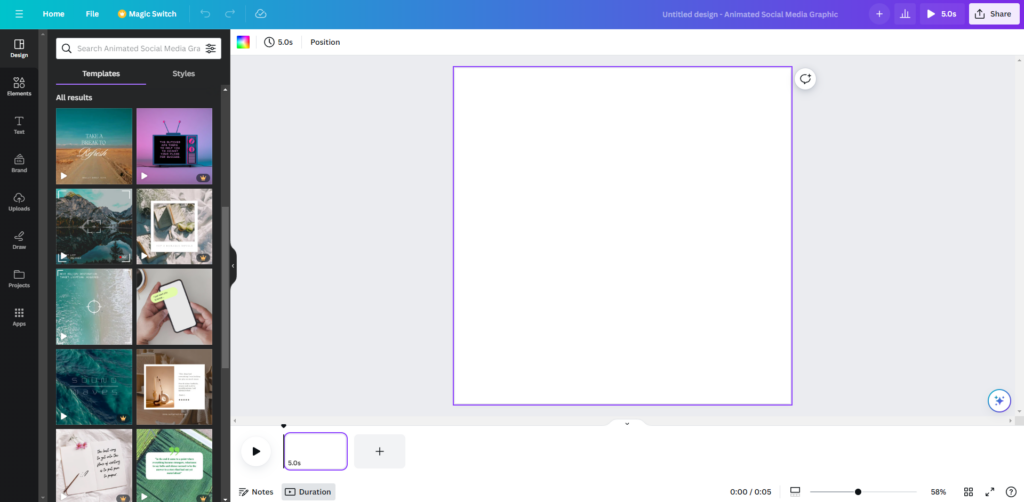
4. Place Images: Drag and drop your image in the GIF maker.
5. Add Elements: Click on the “Elements” tab on the left sidebar. Browse through the categories or use the search bar to find the perfect image for your GIF. Drag and drop the image onto your canvas.
6. Add Shapes: Click on the “Elements” tab. Choose “Shapes” and select a shape that suits your design. Adjust the size and color of the shape as needed.
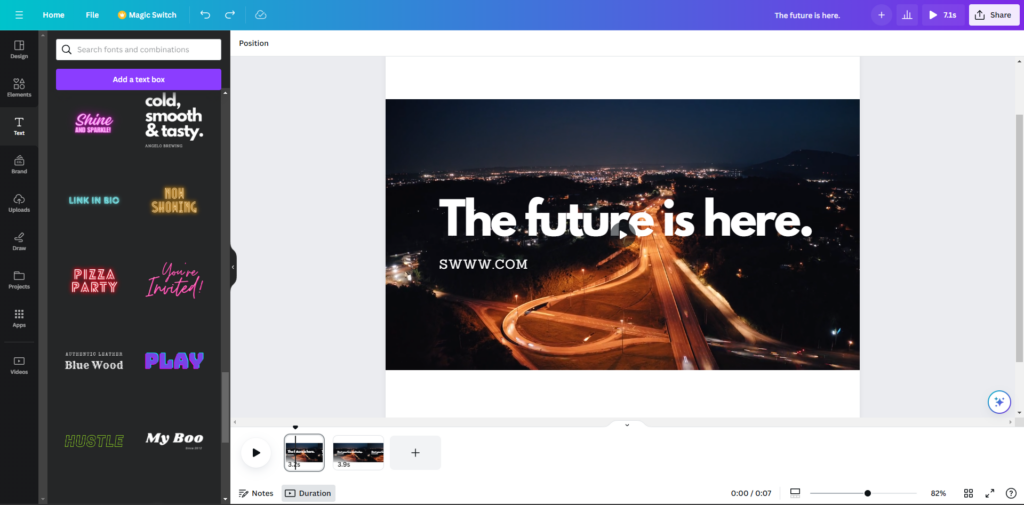
7. Customize Design: Add text to your GIF, play with different fonts and frames, and apply effects.
8. Animate Design: Click on a particular element and select the “Animate” option to pick a motion style. You can combine animations, too. Make distinct movements for each page, text, or image.
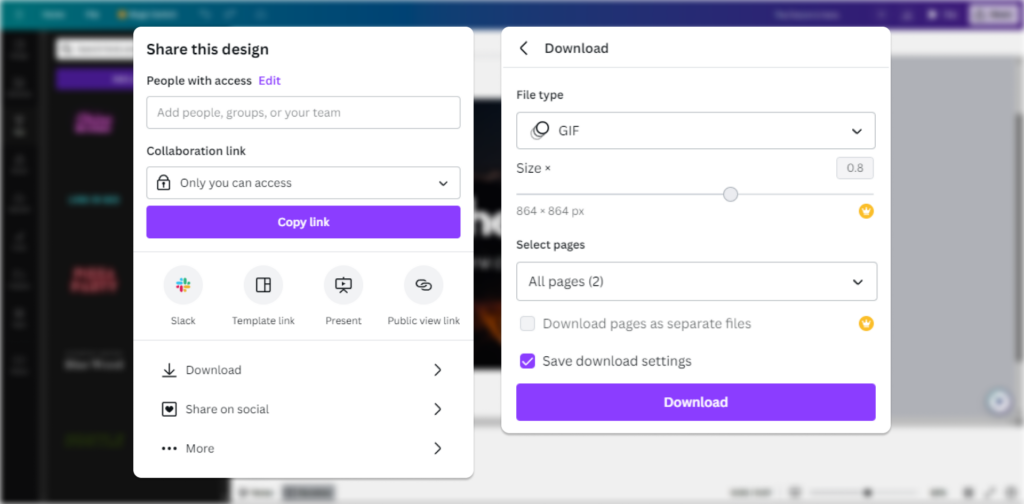
9. Download GIF: Click the download button on the top right corner of the editor and select the GIF format to save all or selected pages of your design.
Now, you might be wondering how can I crop the GIF to make it work for your email signatures. If you don’t have the premium version of Canva, no problem. In the following section of the blogs post we’ll walk you through the steps that will allow you to optimize your GIFs for your email signature at no cost, including cropping and additional adjustments.
How to create an animated banner using Microsoft Clipchamp
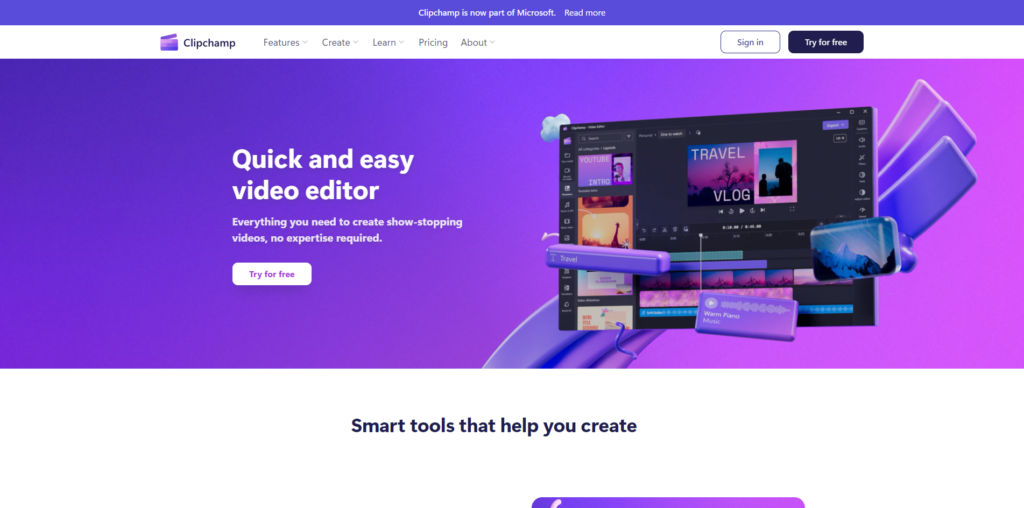
One of the free options that you can rely on in the process of creating animated call-to-action banners might be Microsoft Clipchamp. The primary use case of the tool lies in video production and editing. However, with the good number of built-in resources and elements, the tool might be a solid option for you to create an animated banner. The only problem that you may face is related to proper GIF cropping and optimization. Fortunately, using such an online tool as EzGIF you can convert videos into the GIF format and easily optimize them to your needs.
1. Open Microsoft Clipchamp: If you use Windows 11 the application comes pre-installed and you can access it by searching the app on your PC. If you are a Mac user or you don’t have the app pre-installed on your PC, you can get the application on the Microsoft Clipchamp webpage.
2. Create a video: Click Create a new video to open an empty project and begin the process from scratch. Or select one of the templates from the Get inspired with a template section.
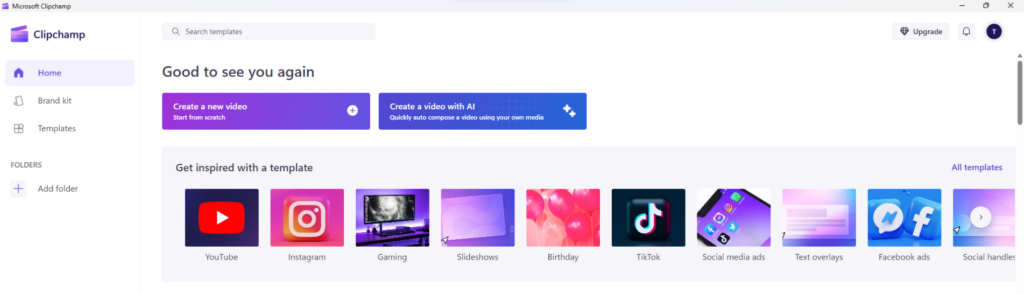
3. Get inspired with a template: To find out about the optimal template, we suggest visiting the following template sections: Social Media Ads, Facebook Ads, Marketing, Sale Ads, Celebrations, etc.
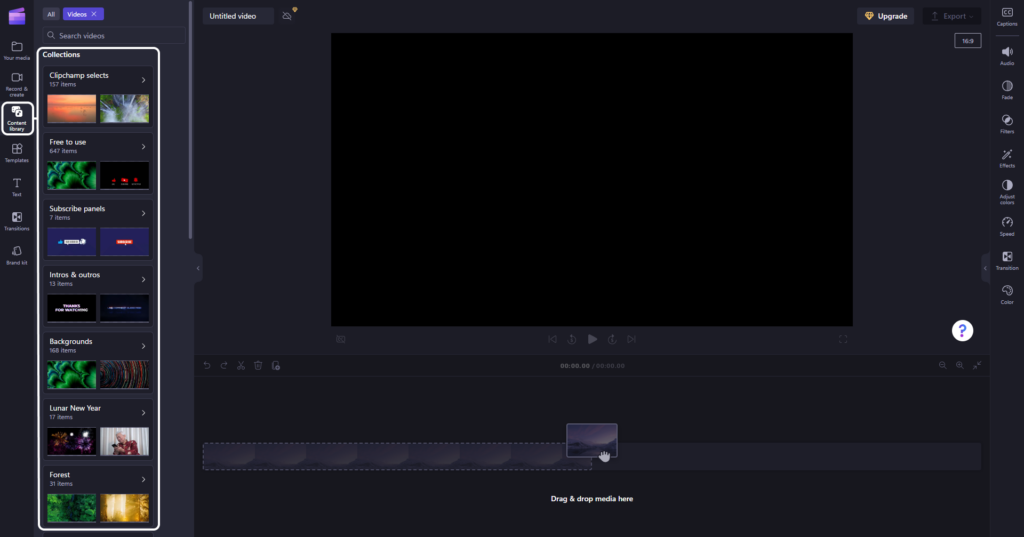
4. Content library: After selecting the template or creating a new project, your first step will be about choosing the right content for your animated call-to-action banners. To find the right set of visual elements for your CTA navigate to the Content Library section.
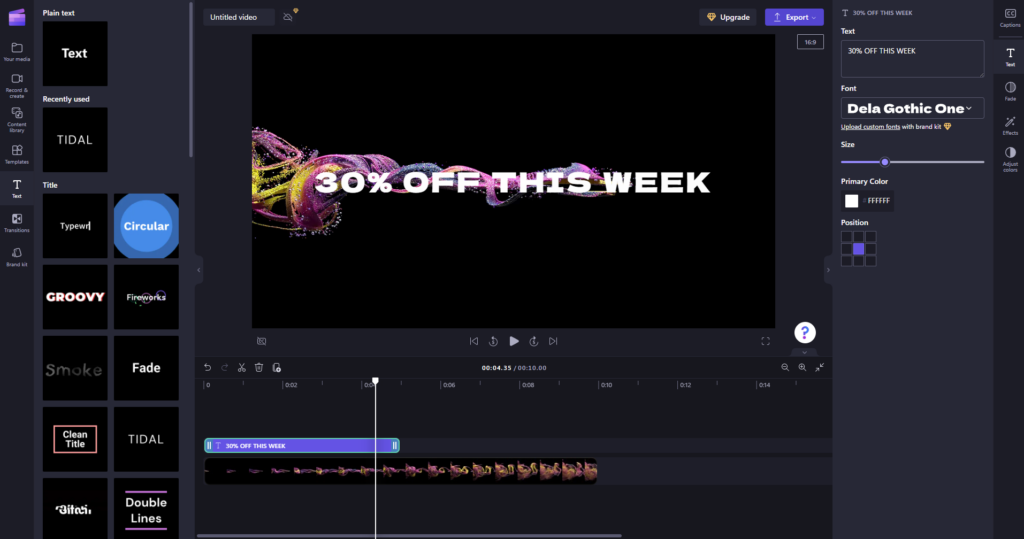
5. Adding Text: After designing the banner and adding all the necessary visual element, you can move on to the text. Navigate to the Text section. Select the right option for you, align it to the timing, add effects if needed.
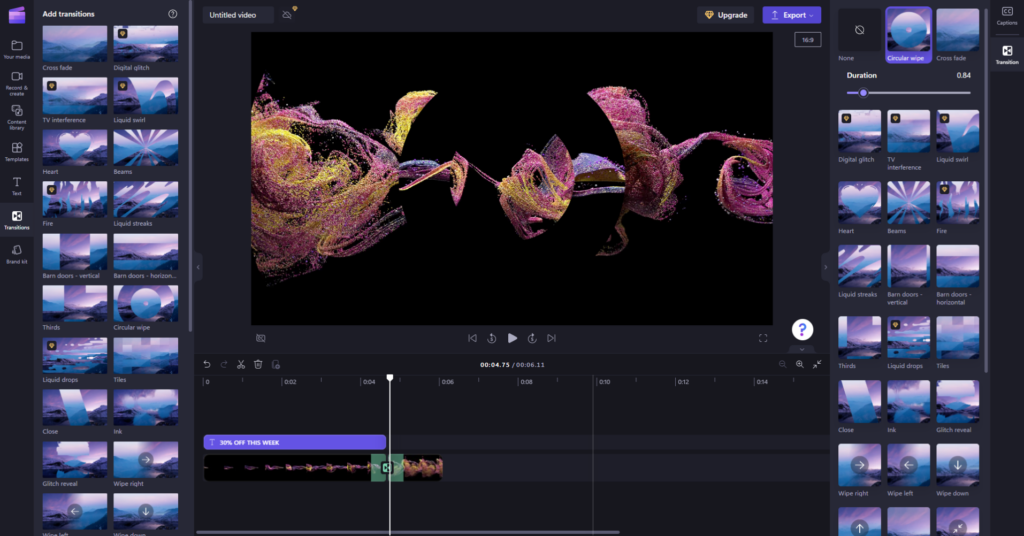
6. Add transitions: If you want to smoothen the transitions between the different parts of your banner you can go to the Transitions section and choose from the available options.
7. Add your branded content: By navigating to Your Media, you will be able to upload your logos and other branded elements.
8. Save your video: When the work is done, you can save the result by clicking the Export button. Select the right Video quality for you.
How to create an animated banner using a video and the EzGIF online tool
The procedure that we are going to describe in this step requires using a premade video. If you don’t have any available videos at your disposal, there are such free tools like Canva, Microsoft Clipchamp, iMovie, and more. You can use one of the templates to create your video. Make sure the content that you present in your video fits your banner. These tools don’t allow you to make custom cropping. But you will be able to crop the video using the free EzGIF tool that allows you to adjust your videos to your liking and needs. All in all, this tool can be considered as an ultimate tool for making animated email signature banners. Below you can find the steps for the process.
NOTE: Keep the GIF size reasonable. Ideally, it should be small in both physical dimensions (not exceeding 450 pixels in width is a common recommendation) and file size (preferably under 1 MB to ensure it loads quickly and doesn’t consume too much bandwidth)
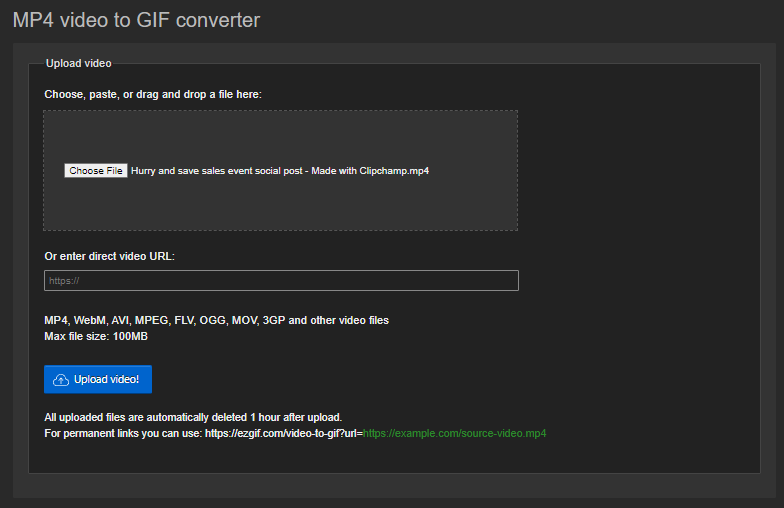
1. When you got the video done, Navigate to EzGIF: Go to the EzGIF website and select the “Video to GIF” tool.
2. Upload Video: Click on the “Choose File” button to upload your video file.
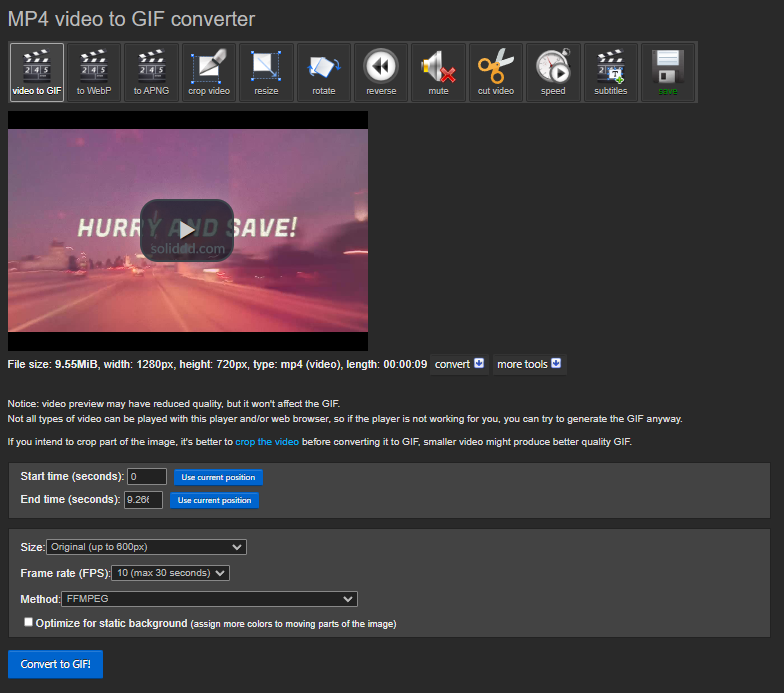
3. Select Part of Video: After upload, you can select the part of the video you want to convert into a GIF. You can do this by entering the start and end times
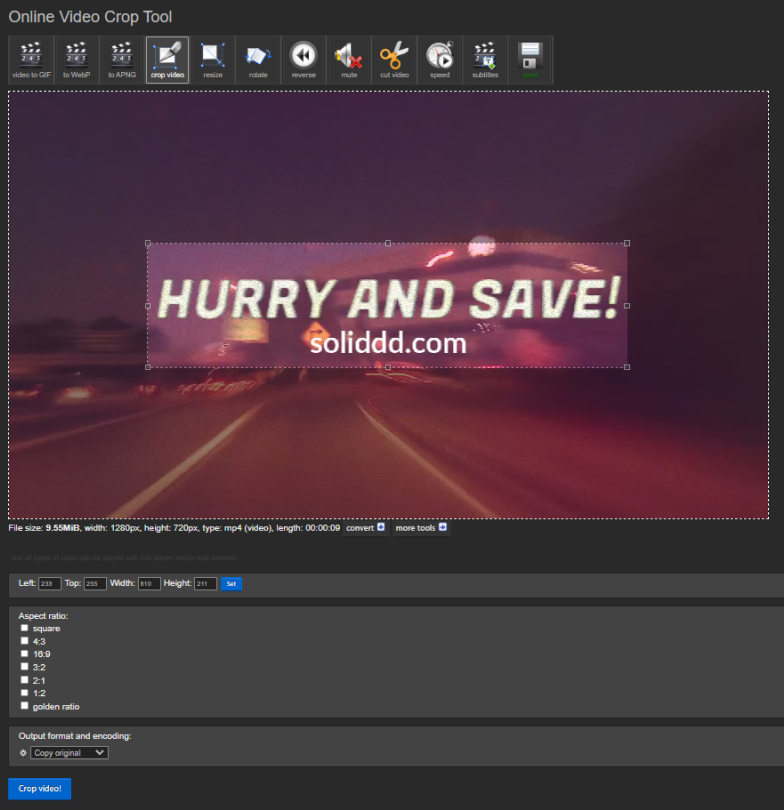
4. Cropping Video: After selecting the right timing for your video you can now navigate to the “Crop Video” section. Crop your video using the available tools and hit the “Crop Video” button below. Now, you can scroll down to see the result. To navigate back the video to GIF section click the corresponding button below the cropped video.
4. Convert to GIF: Click on the “Convert to GIF” button. If the GIF doesn’t quite meet your requirements you can optimize and adjust it to your needs using the additional features of the service.
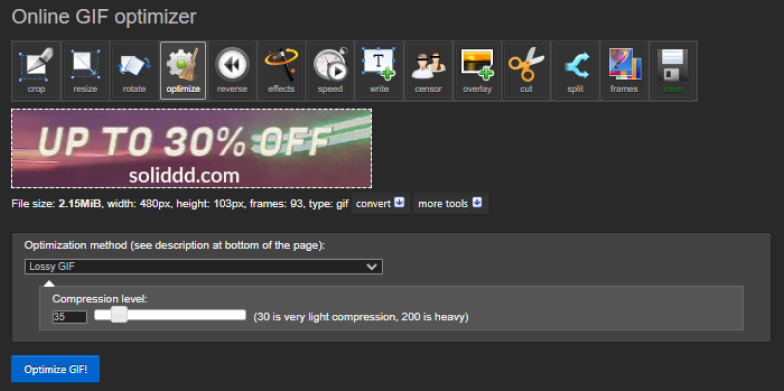
5. Download GIF: Once the conversion is done, you can download your GIF by clicking the “Save” button.
How to create an animated banner in Photoshop (Advanced)
For more advanced users who primarily rely on Adobe services for various design-oriented tasks, there is also an option to create GIFs using Photoshop. Below you can find the basic steps on how you create an animated banner in Photoshop.
1. Open Photoshop and select “Create New” from the File menu
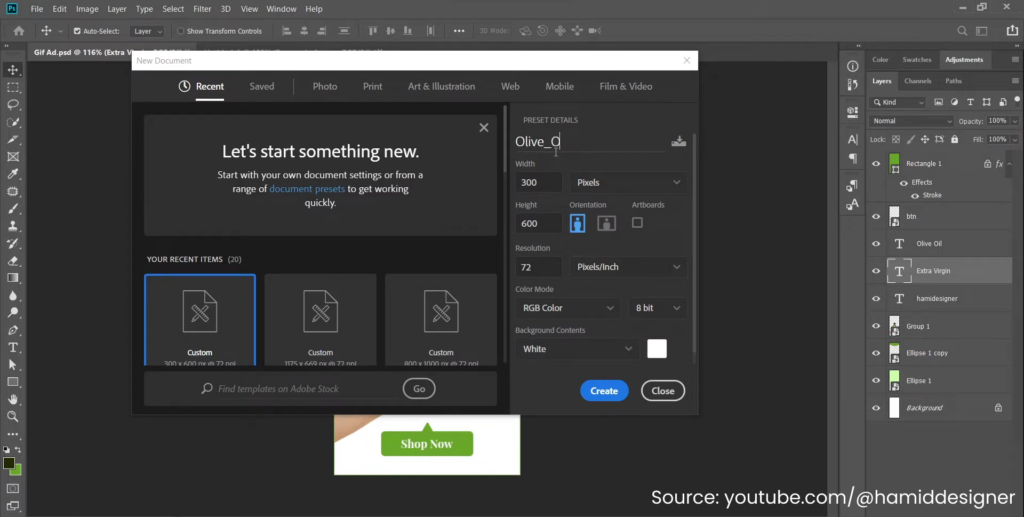
2. Choose the size of your banner.
3. Create your design using the tools available in Photoshop.
4. Go to the “Window” menu and select “Timeline“.
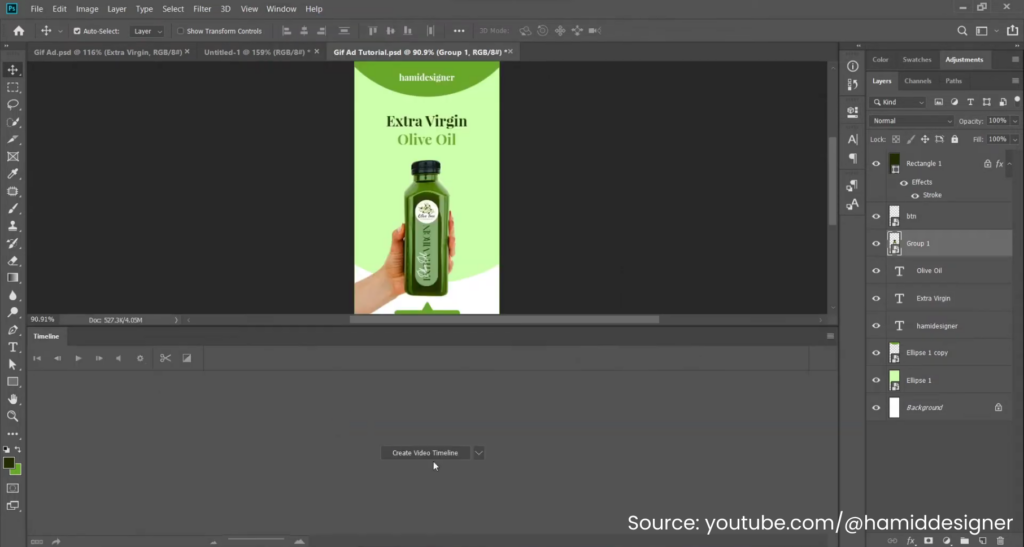
5. Click on “Create Frame Animation“.
6. Add frames to your animation by clicking on the “Duplicate Selected Frames” button.
7. Edit each frame by adding or removing elements.
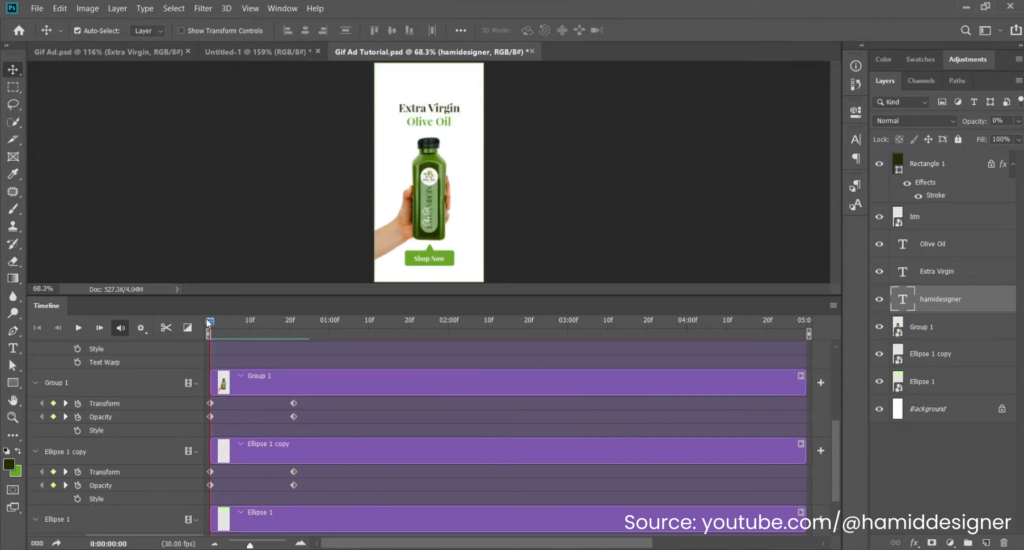
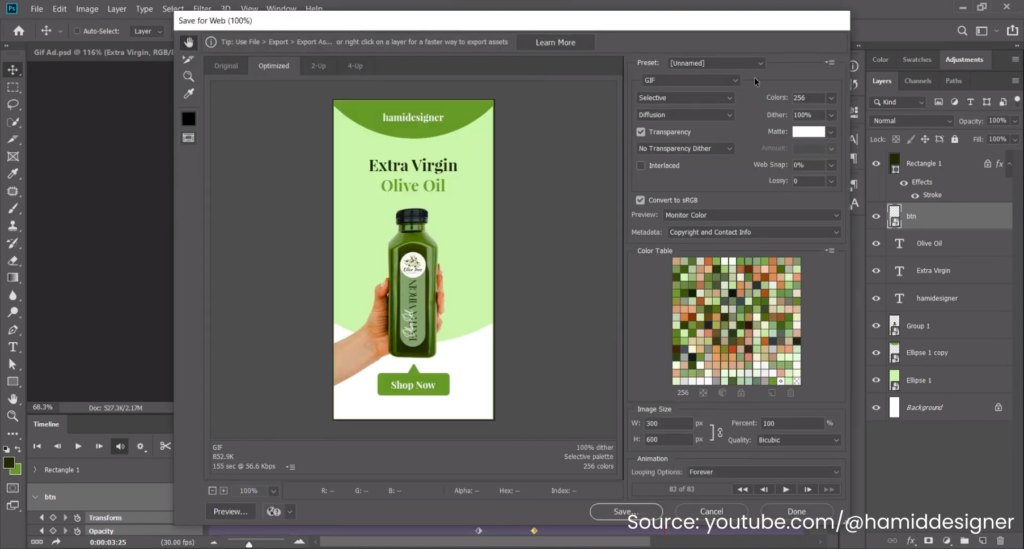
8. Adjust the timing of each frame by clicking on the drop-down menu next to each frame.
9. Save your animation as a GIF file.
Additional best practices for email signatures
Keep Logos/Banners Relatively Small: If you use logos or banners, make sure they don’t overwhelm the signature. Keep them compact and visually appealing. Keep the banners, below 350 px in width. For profile images, the rule of thumb is always below 100×100.
Provide Just Enough Contact Information: Keep it concise. Include your first and last name, job title, department, company, and phone number. You can also add your company’s website and social media profiles, but skip the email address since it’s already in the email header.
Create Several Email Signature Templates: Nowadays, having one signature isn’t enough. Consider having one signature for outgoing emails and another for replies or forwarding. The first one can include all your contact details, logos, and banners, while the simpler second signature should provide basic contact information
Consider using centralized email signature management tools: Solutions like BulkSignature allow centralized management of email signatures across your organization. These tools enable administrators to set up consistent signatures for all employees, ensuring brand consistency and compliance with company policies.