One of the key features of Google Groups is their ability to use a group address for online communication. You can do that by applying the specific Gmail settings. In this short guide, we will walk you through the installation steps that you need to follow to use your Group Alias for your email correspondence.
What is Google Groups
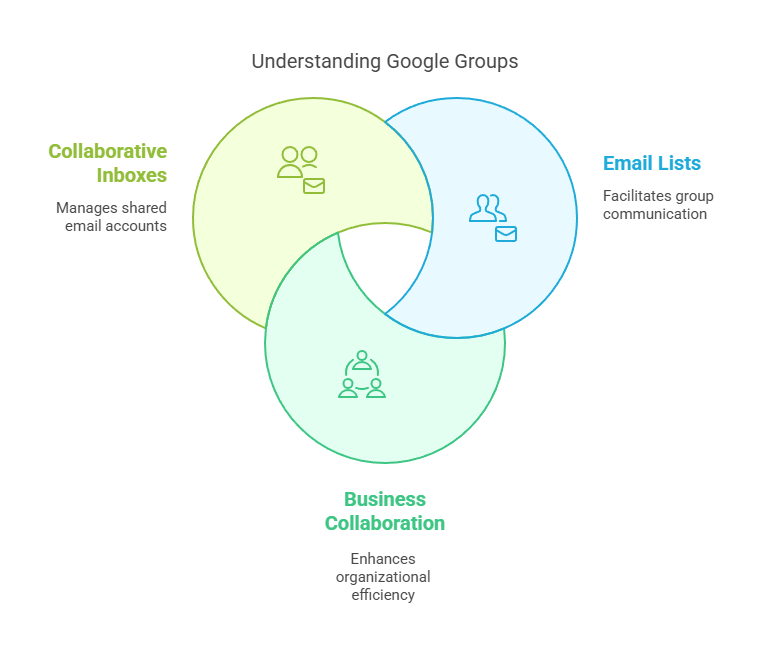
First, let’s figure out what Google Groups actually is. Google Groups allows you to create email lists, making it easy to communicate with everyone in a group using a single email address. Whether you’re organizing a team, club, or community, this feature streamlines communication.
Businesses can leverage Google Groups to collaborate and communicate across their organization. It’s an efficient way to keep everyone informed and engaged.
Collaborative inboxes within Google Groups allow teams to manage shared email accounts. Assign conversations to specific members for tracking and follow-up.
This feature is particularly useful for project teams, departments, or any group that needs to handle incoming emails collectively.
How to Configure Google Groups Alias
Before going to Gmail you need to review your Groups settings. To use your Group Alias you will have to verify it. To receive the verification request you need to configure your Google Group settings.
- Go to groups.google.com or open the app from your Gmail by click on the six-dot button on the top-right corner and scroll down until you find the Google Groups app
- Click on ⚙️ to open your group’s settings
- Scroll down to the ‘Who can post’ section
- Make sure it set to ‘Anyone on the web’
- Save changes

How to Connect Google Groups with Gmail
Now, you can move on to Gmail and proceed with our Group Alias installation. You need to follow the steps:
- Go to your Gmail
- Click on ⚙️ to access your settings
- Click ‘See all settings’ in the side menu
- Go to the ‘Accounts’ section
- Hit ‘Add another email address’ in the ‘Send mail as’ section
- Insert your Group Name and Google Groups Email
- Leave ‘Treat as an alias’ checked
- Hit ‘Next step’
- Send the verification code
- Go to your Google Groups’ inbox
- Copy the code or click the link to confirm
- Go back to your Gmail settings
- Switch to ‘Reply from the same address the message was sent to’ in the ‘When replying to a message’ section
Common Use Cases for Google Groups Alias
Using a Google Groups alias in Gmail can streamline communication and collaboration in various scenarios. Here are some common use cases demonstrate how a Google Groups alias can enhance communication and efficiency in various settings:
Project Teams
Scenario: A project team needs to stay updated on tasks, deadlines, and progress.
Benefit: By using a Google Groups alias, team members can send updates and share documents with the entire group, ensuring everyone is on the same page.
Customer Support
Scenario: A customer support team handles inquiries and issues from clients.
Benefit: Emails sent to the support alias can be accessed by all team members, allowing for quick responses and collaborative problem-solving.
Internal Announcements
Scenario: A company needs to send important announcements to all employees.
Benefit: Using a Google Groups alias ensures that all employees receive the same information simultaneously, reducing the risk of miscommunication.
Event Planning
Scenario: An event planning committee coordinates details for an upcoming event.
Benefit: The committee can use a group alias to share schedules, updates, and responsibilities, making coordination more efficient.
Educational Institutions
Scenario: A school or university department communicates with students and faculty.
Benefit: Using a group alias allows for easy dissemination of information about classes, events, and administrative updates.
Community Organizations
Scenario: A community organization needs to communicate with its members.
Benefit: A group alias helps in sending newsletters, meeting reminders, and important notices to all members at once.
Collaborative Projects
Scenario: Multiple departments collaborate on a cross-functional project.
Benefit: A group alias facilitates seamless communication and document sharing among departments, enhancing collaboration.


