
If you’re wondering how to set up email signatures in Microsoft 365, you’re in the right place!
Microsoft 365 offers a few different ways to manage email signatures, but the configuration isn’t necessarily as straightforward as you might expect. Depending on your organization’s setup, you’ll either be:
- Setting up signatures centrally through the Exchange Admin Center or
- Asking employees to manage their email signature individually in Outlook
Both approaches work, but each comes with tradeoffs around consistency, branding, and administrative effort.
So to help you get all your email signature ducks in a row, read on for everything you need to know about setting up email signatures in Microsoft 365, how organization-wide signatures work in the Exchange Admin Center, and the limitations to understand before rolling them out at scale.
Method 1: Setting Up Organization-Wide Signatures via the Exchange Admin Center
Microsoft 365 allows administrators to apply signatures and legal disclaimers automatically to outgoing emails using mail flow rules in the Exchange Admin Center.
By default, these rules can apply to everyone in your organization, but you can also limit them to specific users, departments, or groups if different teams need different signatures. For example, your sales team might use a signature with booking links, while customer support uses a simpler format with service contact details.
Before jumping into the setup process, it’s worth taking a few minutes to think about how your organization wants email signatures to work long term. A little planning upfront can save a lot of rework later, especially as your team grows or branding requirements become more complex.
Ask yourself:
- Will everyone use the same signature format?
- Do departments need different versions?
- Are legal disclaimers required?
- Will signatures include logos, social icons, or campaign banners?
- Should employees be able to edit signatures themselves?
- Do signatures need to work consistently across desktop and mobile?
These decisions will shape how you configure signatures in Microsoft 365 and whether native tools will meet your needs long term.
Once you’ve thought through those questions, you’re ready to begin.
Here’s how to set up an organization-wide email signature in Microsoft 365 using the Exchange Admin Center.
Step 1: Access the Exchange Admin Center
Sign in to the Microsoft 365 admin portal and navigate to the Exchange Admin Center. You can access it from the Microsoft 365 admin portal by going to Admin Centers and selecting Exchange.
Step 2: Navigate to Mail Flow Rules
In the Exchange Admin Center, select Mail Flow from the left-hand menu, then choose Rules. This is where you create and manage all mail flow rules for your organization.
Step 3: Create a New Rule
Select the plus icon to create a new rule. Give the rule a descriptive name, such as “Company Email Signature – All Users.” This makes it easier to manage multiple rules later if you need different signatures for different departments.
Step 4: Set Rule Conditions
Under “Apply this rule if,” choose the condition that determines which messages the rule applies to. For a true organization-wide signature, select “The sender is located” and choose “Inside the organization.” This applies the rule to all outgoing messages sent from your domain.
If you need to scope the rule to specific users or groups, you can use conditions like “The sender is a member of” and select the relevant distribution group or security group.
Pro Tip: Some organizations prefer signatures only on external emails to keep internal conversations cleaner. If internal email chains become too cluttered, consider limiting the rule to messages sent outside your organization.
Step 5: Set the Action
Under “Do the following,” select “Apply a disclaimer to the message.” You will then see two options: “Append a disclaimer” adds the signature to the bottom of the message, while “Prepend a disclaimer” inserts it at the top. For email signatures, append is the standard choice.
From there, select “Enter text” to add your signature text. You can then use HTML here to format the signature, add links, and reference externally hosted images such as your company logo. Keep in mind that images must be hosted on a publicly accessible URL, and they can’t be embedded as attachments.
Pro Tip: Keep layouts relatively simple when building HTML signatures inside Microsoft 365. Multi-column designs, unusual fonts, or overly complex formatting can display differently across Outlook desktop, Gmail, Apple Mail, and mobile apps.
Step 6: Set the Fallback Action
Microsoft requires you to specify what happens if the disclaimer cannot be applied (for example, if the message is encrypted).
The three options are:
- Wrap: Creates a new message that wraps the original email, then adds the disclaimer to the outer message. This is usually the safest option because the disclaimer is still applied even if the original message format prevents direct insertion.
- Ignore: Sends the message without the disclaimer if Microsoft 365 can’t apply it.
- Reject: Blocks the message from being sent if the disclaimer cannot be added.
For most organizations, “Wrap” is the safest option, as it preserves both the original message and the disclaimer.
Step 7: Set Rule Settings
After setting the fallback option, set the rule mode to “Enforce” to apply it to live messages. You can also set a severity level for auditing purposes, which is useful if you need to track rule processing in your compliance logs.
Once you’ve reviewed the rule settings, select “Save” to activate the rule. New messages sent from within your organization will now have the signature appended automatically.
Method 2: Setting Up Signatures in Outlook (Per User)
The alternative to setting signatures centrally is to let employees manage them themselves in Outlook. This approach makes it easier for users to preview and edit their signatures before sending, but it can quickly become difficult to manage across a growing organization.
Here’s how to configure signatures in the different versions of Outlook.
In Outlook for Windows
Open Outlook and go to File, then Options, then Mail.
Under the “Compose messages” section, select “Signatures.” In the Signatures and Stationery window, select “New” to create a new signature. Give it a name, then add your signature text in the editor below.
You can format the text, add images, and insert hyperlinks. Under “Choose default signature,” set the default signature to apply to new messages and, optionally, to replies and forwards.
Select “OK” to save.
In New Outlook and Outlook on the Web
Open Settings using the gear icon in the top right corner. Search for “signature” in the settings search bar, or navigate to Mail, then Compose and Reply.
From here, select “New signature” to create a new signature, add your content, and use the dropdown menus under “Select default signatures” to assign it to new messages, replies, or forwards.
Select “Save” to apply.
In Outlook for Mac
Open Outlook and go to Preferences, then Signatures. Select the plus icon to create a new signature. Add your content in the editor, then close the window.
In the Signatures preferences, use the dropdown menus to assign the signature as the default for new messages and replies.
The table below summarizes the navigation path for each Outlook version.
How to Access Signature Settings in Different Outlook Versions
Platform | Navigation Path |
Outlook for Windows | Open a new email message > Message menu > Signature > Signatures |
New Outlook / Outlook on the Web | Settings (gear icon) > Mail > Compose and Reply > New Signature |
Outlook for Mac | Preferences > Signatures > Plus icon |
Outlook Mobile (iOS/Android) | Settings > Account name > Signature |
One thing to note here is that Outlook signatures are tied to the email account itself. So if someone uses multiple accounts in Outlook, they’ll need to configure a signature for each one. This is a common oversight in Outlook, and too often leads to some emails being sent without a signature attached.
More information on managing email signatures in Microsoft 365 here: How to Manage Email Signatures in Microsoft 365 for Your Entire Company.
Key Limitations of Microsoft 365 Email Signature Management to Be Aware Of
Mail flow rules in the Exchange Admin Center work well for adding simple legal disclaimers or basic company information. However, if you want more polished, branded signatures, you may find the native setup limiting.
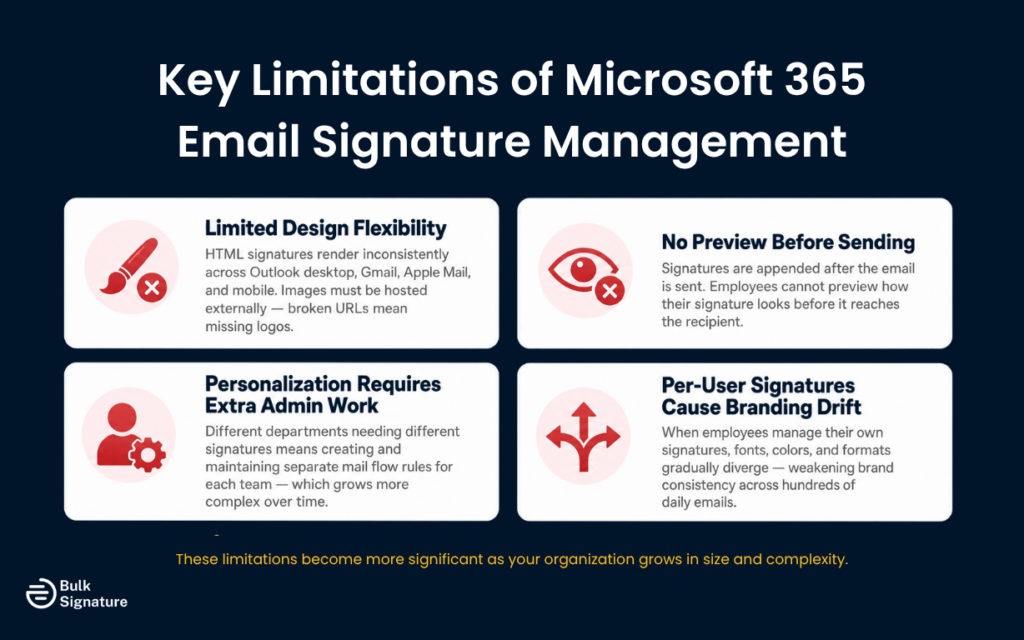
Here are some of the biggest limitations organizations run into when managing email signatures natively in Microsoft 365.
Limited Design Flexibility Across Email Clients
One of the biggest limitations of Microsoft 365’s native signature setup is inconsistent formatting across devices and email platforms. While mail flow rules support HTML, signatures can render differently depending on where the email is opened.
For example, Outlook desktop, Outlook web, Gmail, Apple Mail, and mobile email apps may all display spacing, fonts, and image placement slightly differently. If your organization relies on highly branded email signatures with logos, banners, or multi-column layouts, maintaining consistency can become frustrating.
Images also need to be hosted externally, which adds an extra layer of setup and maintenance. If an image URL changes or becomes inaccessible, logos and promotional banners may stop displaying correctly.
Employees Can’t Preview Signatures Before Sending
Another common frustration with Exchange mail flow rules is that signatures are added after the email has already been sent.
In practice, this means employees never actually see the final signature while writing their message. So if someone wants to double-check formatting, verify a marketing banner is displaying properly, or simply preview how their email will appear to recipients, they can’t.
For organizations running promotions or campaigns through email signatures, this lack of visibility can make quality control more difficult.
Personalization Requires Extra Administrative Work
Microsoft 365 can apply signatures organization-wide, but personalization quickly becomes more complicated.
For example, if different departments need different booking links, disclaimers, office locations, or contact information, administrators often need to create separate mail flow rules for each team. The more signature variations your organization needs, the more difficult these rules become to manage over time.
That can create extra maintenance whenever employees move departments, titles change, or new teams are introduced.
Per-User Outlook Signatures Can Create Branding Drift
Having employees manage their own signatures in Outlook gives them more flexibility, but that flexibility can create a different set of problems.
For example, someone may update their job title but forget to update their signature. Another employee might adjust fonts, colors, or spacing to “improve” the design, while an entire department starts using a completely different format without anyone realizing.
Over time, signatures naturally begin to drift, and branding becomes less consistent across the organization. Small inconsistencies repeated across hundreds or thousands of emails can gradually weaken brand presentation.
For smaller teams, these limitations may be manageable with organized support. But as organizations grow, neither native method gives most marketing and IT teams the level of control, personalization, and consistency they usually want from company-wide email signatures.
When to Consider a Dedicated Email Signature Management Tool
At a certain point, managing email signatures manually, either through Exchange mail flow rules or per-user Outlook settings, starts creating more work than it saves.
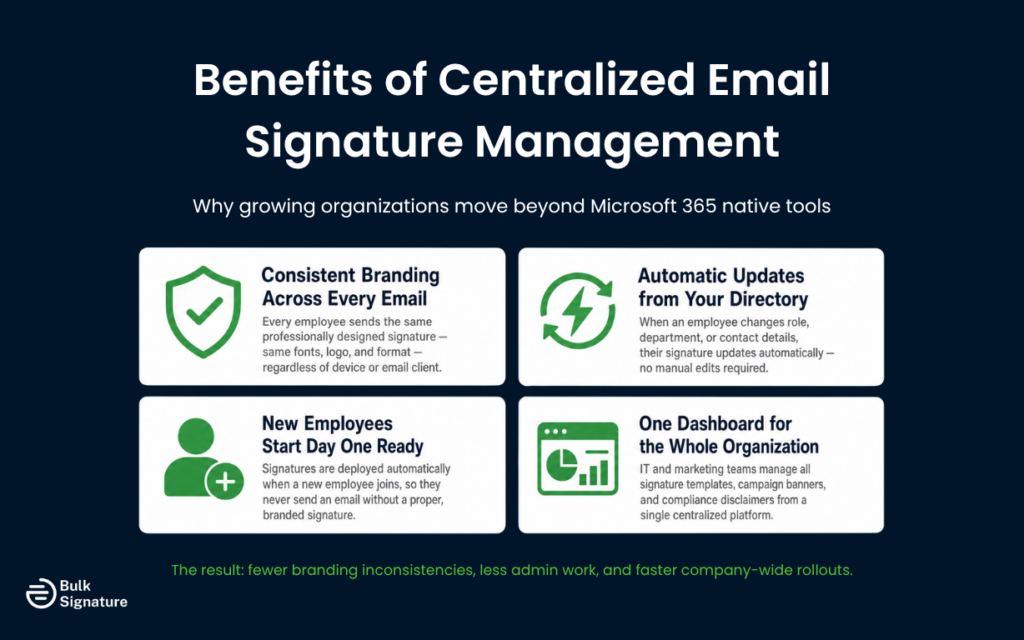
For example, if your team needs consistent branding, automatic employee updates, multiple signature variations, or better visibility across devices and email clients, it may be time to look beyond Microsoft’s native tools. This is where a dedicated email signature management platform, like BulkSignature, can make a massive difference.
Centralized email signature tools connect directly to your Microsoft 365 tenant and manage the entire email signature process from a central dashboard. That means signatures can be deployed automatically when a new employee joins, updated in real time when directory information changes, and applied consistently across new emails, replies, and forwards, without employees needing to manually update anything.
For growing organizations, this usually results in fewer branding inconsistencies, less admin work for IT and marketing, and a much faster way to roll out updates across the company.
To learn more about how BulkSignature integrates with Microsoft 365, you may find the following resources on our website useful:
What Good Organization-Wide Signature Management Looks Like
Regardless of whether you use Exchange mail flow rules, rely on per-user Outlook signatures, or invest in a dedicated email signature platform, a well-managed signature program should give your organization a reliable, scalable way to manage email branding and compliance.
At a minimum, that means:
- Signatures are consistent across the organization, using the same fonts, logo, formatting, and brand elements.
- Legal disclaimers appear on all outgoing messages and can be updated quickly whenever compliance or legal requirements change.
- New employees start with the correct signature from day one. And if they need to update their signature directly, there are clear instructions and a consistent process to follow.
That outcome is achievable with Microsoft 365’s native tools, but only if your needs are relatively simple. If your organization needs more flexibility around branding, employee data, or multiple signature formats, it may be time to invest in a more robust, centralized approach.

Ready to simplify email signature management across your organization? You can deploy M365 signatures in minutes with BulkSignature. See our plans and get started for free today!
Frequently Asked Questions About How to Set Up Email Signatures in Outlook and Microsoft 365
Can I create an organization-wide email signature in Microsoft 365?
Yes, Microsoft 365 allows you to create organization-wide email signatures using mail flow rules in the Exchange Admin Center. These rules can automatically append signatures or legal disclaimers to outgoing emails for all users or selected departments.
Can I manage email signatures in Microsoft 365 without using Outlook?
Yes. Microsoft 365 administrators can apply signatures directly through the Exchange Admin Center, so employees don’t need to configure signatures themselves in Outlook or a browser. However, users won’t be able to preview signatures before sending.
Can I add a legal disclaimer to every email in Microsoft 365?
Yes. Adding a legal disclaimer is one of the most common uses for mail flow rules in Microsoft 365. During setup, you can choose whether to append the disclaimer immediately to outgoing emails or configure fallback options if the rule cannot be applied.
What does “Select Defer” mean when setting up Microsoft 365 mail flow rules?
“Defer” is a mail flow action that delays message delivery under certain conditions. It’s typically used for troubleshooting or routing scenarios rather than email signature management, so most organizations setting up signatures won’t need to select defer.
How do I test an email signature in Microsoft 365?
After setting up your signature rule, send a test email to multiple devices and email clients (Outlook desktop, Outlook web, Gmail, Apple Mail, and mobile). This helps confirm formatting, links, images, and legal disclaimers display correctly.
Can Microsoft Word or Office templates be used for email signatures?
You can design an email signature in Microsoft Word or Office apps, but copying rich formatting into Outlook may cause display inconsistencies across devices and email clients. HTML-based signatures generally provide better results for company-wide branding.
Does BulkSignature also work with Google Workspace?
Yes. BulkSignature works with both Microsoft 365 and Google Workspace, allowing organizations to manage email signatures centrally across platforms.
To learn more about how BulkSignature integrates with Google Workspace, visit: Email Signature Manager for Google Workspace.


